With paper lab notebooks life is uncomplicated: you know exactly how it works – the ins-and-outs, the functionalities, the limits – and there are no intricate, unnecessary gizmos. But what if you want to make a small change? Like correcting a misspelled word, or a structural alteration that would make your entire experiment more logical?
The simple answer is you can’t. Pen is pen and cannot be modified. You can’t even rip out a messy page because all your changes need to be recorded. Luckily, the digital lab notebook is here to help.
In our new blog series, “Let’s get digital”, we want to demonstrate how you can take your paper lab notebook and easily translate it into a digital format. And, it goes further than translating – we also want to show the extra advantages that digitizing your data can bring.
Last week, we discussed data integration. This week, we are exploring how much the power of editing can help to make your data clearer, more logical and more aesthetically pleasing.
With labfolder, editing is easy – here is how:
In labfolder, data can be added in the same way you would in a paper lab notebook.
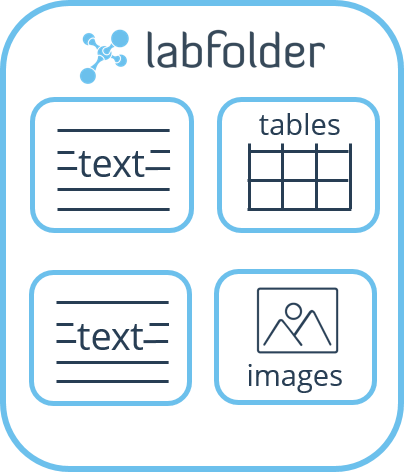
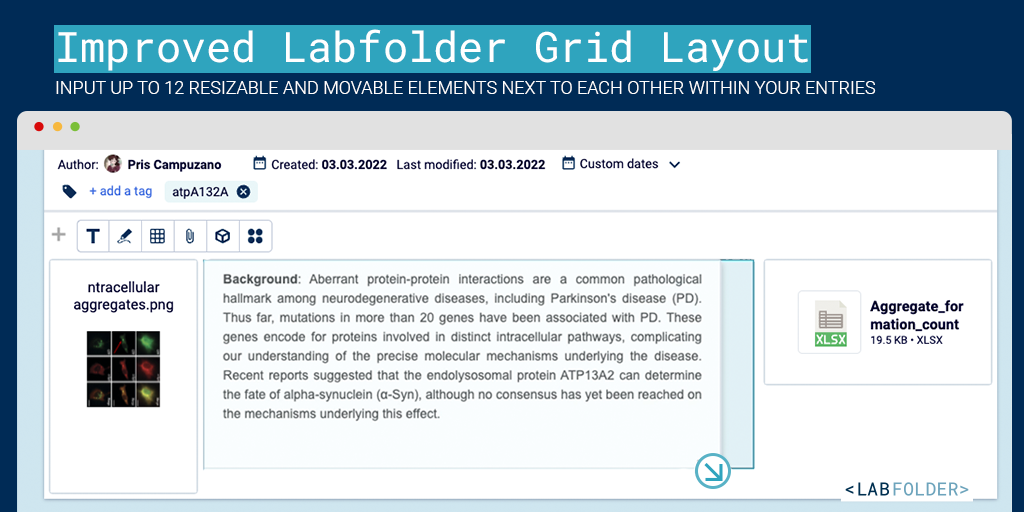
Add text to write protocols, hypotheses and any notes. Use tables to record your results clearly and images can be integrated into your lab notebook in a few clicks. You can lay out your experiments exactly how you wish and customize your lab notebook – there is no set format you have to stick to.
In the paper lab notebook, this is where the story would end. Once glued and written on the page, text, tables and images would remain static and permanent. But, in labfolder, these elements can be easily moved using the drag-and-drop function.
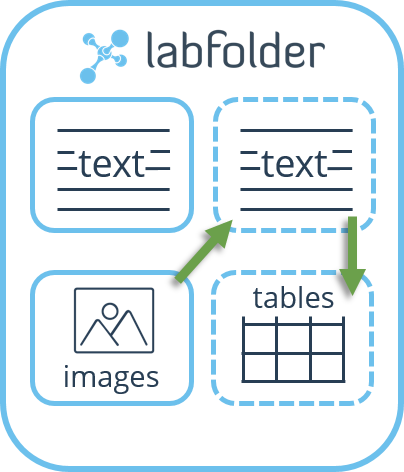
On reflection, would it make more logical sense to have the text above the results table? Change it then!
The problem with using pen is that it is permanent. Every misspelled word, badly drawn diagram and doodle is there forever.
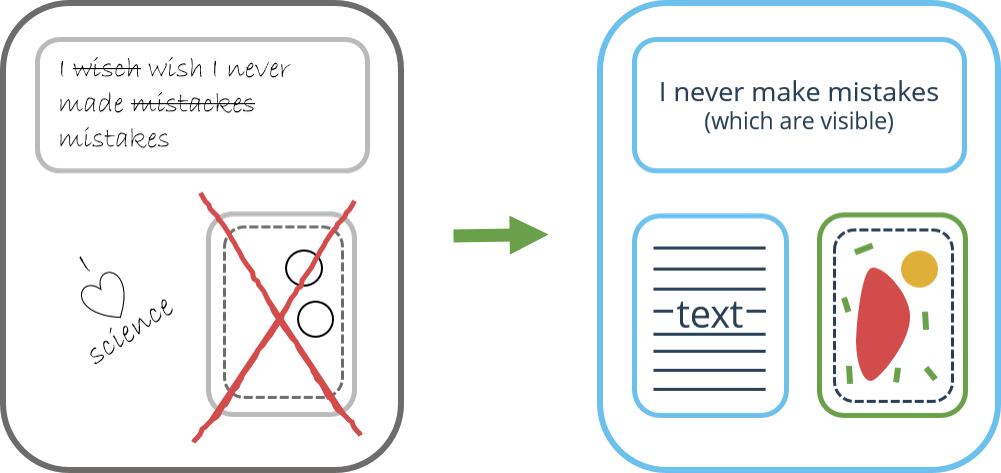
With labfolder, there is the magic of the backspace and delete button. This means your whole experiment can be clean, clear and logical.
The same principle applies to image annotations:
In a PLN, you can annotate your images fine, but what if your want to get the original image back in the future?
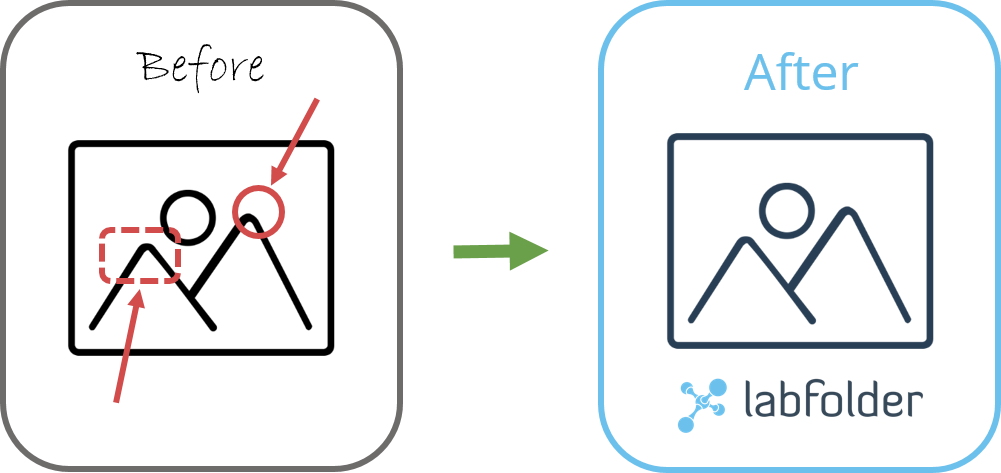
In labfolder, you just need to click Download original and the image is restored, free of annotations.
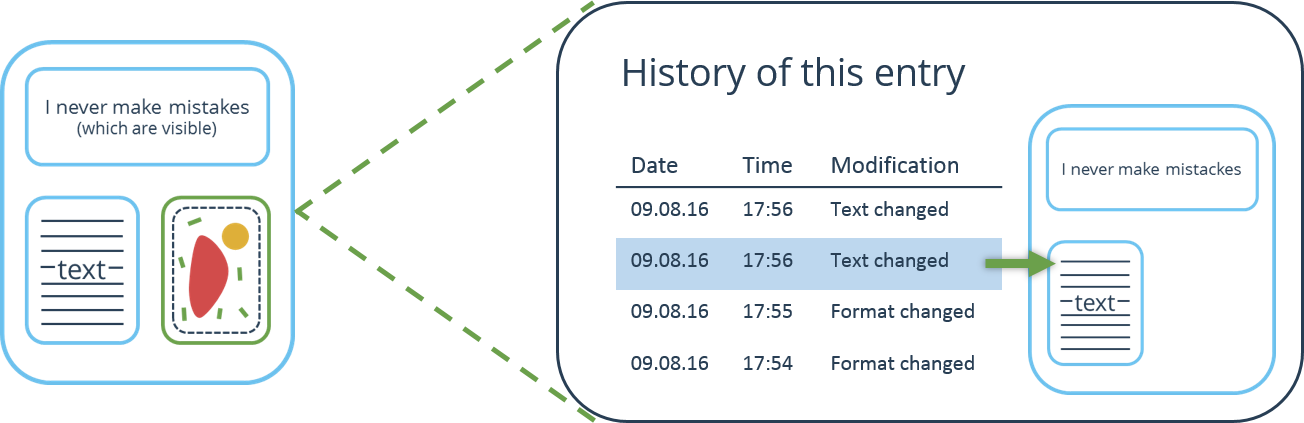
According to GLP, any data that has been added to a lab notebook cannot be deleted. Mistakes need to remain visible and can only be crossed out with a single line and then rewritten. Although data appears to have been deleted in labfolder, in order to conform to GLP, a full audit trail records every modification that has been made. All changes are accompanied by a time and date stamp and earlier versions of an entry can be viewed and restored at any point. Download our white paper on GLP compliance here.
Black can be boring. In labfolder, format your text to highlight important elements and make it easier to read.
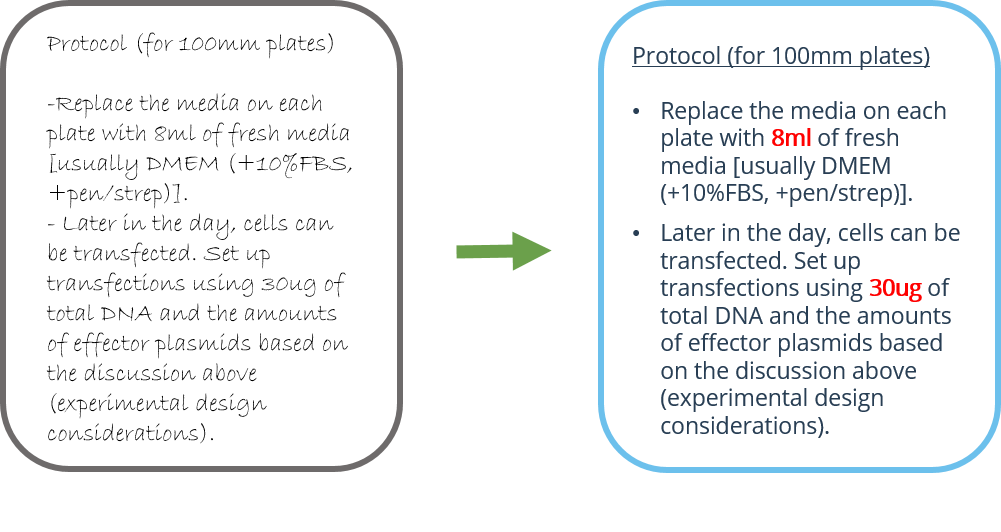
Highlight a concentration, underline your main concluding statement – be bold!
All these modifications only take a few seconds in labfolder, but it can make a big difference to the clarity and legibility of your data.

Leave a Reply